AMOGURU Knowledge Base
- Knowledge Base
- Salesbot Quick Buttons
- Installation and configuration of the widget
To install the integration, you need to be logged into your amoCRM/Kommo account:
- Click the button below
- Select the account where you want to install the integration
- Click the “Allow” button
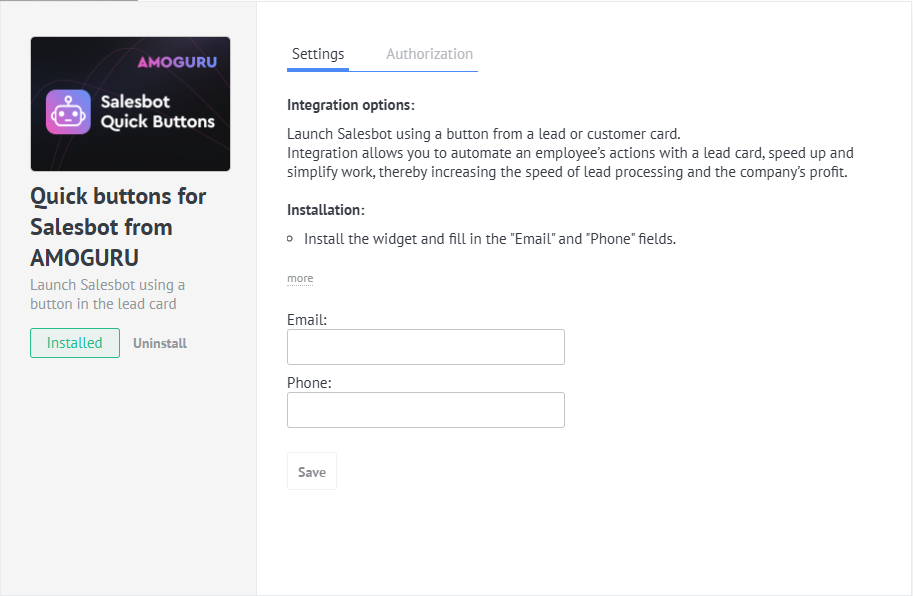
- “Email” field
- “Phone” field
- click the “Save” button
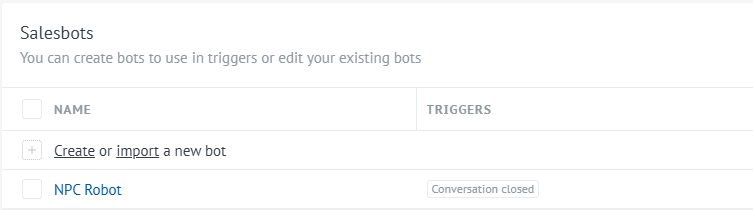
- Go to the “Settings” section - “Chats and Messengers”
- In the Salesbot list, click the “Create” button.
Widget configuration is performed directly within the widget — in the «Settings / Integrations» section. All parameters are available right in the widget interface.
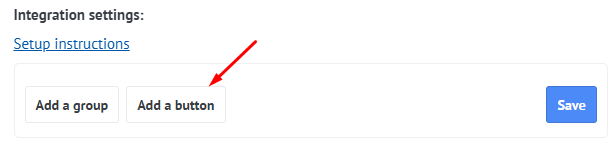
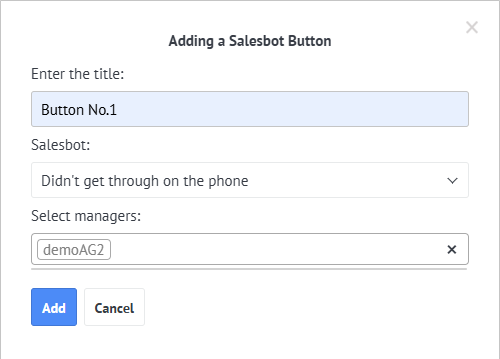
After creating the Salesbot, we proceed to creating buttons. To do this, click in the integration settings “Add a button”.
Next, enter the button name, select the salesbot that will be executed when the button is clicked, and choose the managers for whom this button will be displayed.
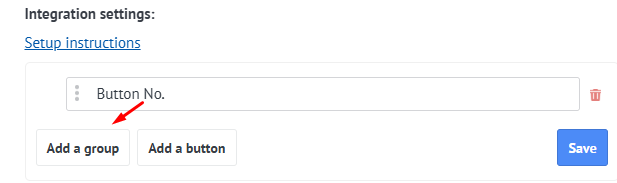
When there are too many buttons, it’s convenient to divide them into groups. To create a group, click the «Add group» button.
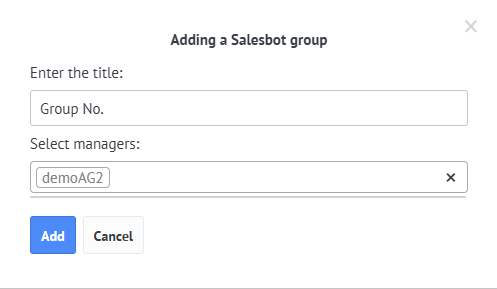
In the modal window that appears, enter the name of the group and the managers, for whom the group will be displayed.
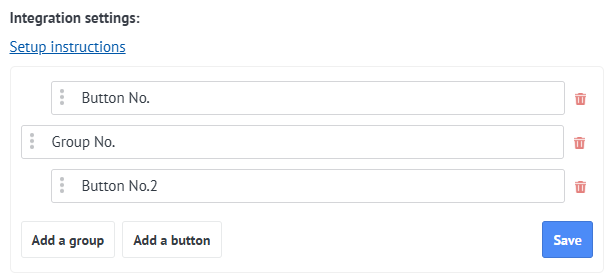
To assign a button to a specific group, move that button to the area located directly below the corresponding group.
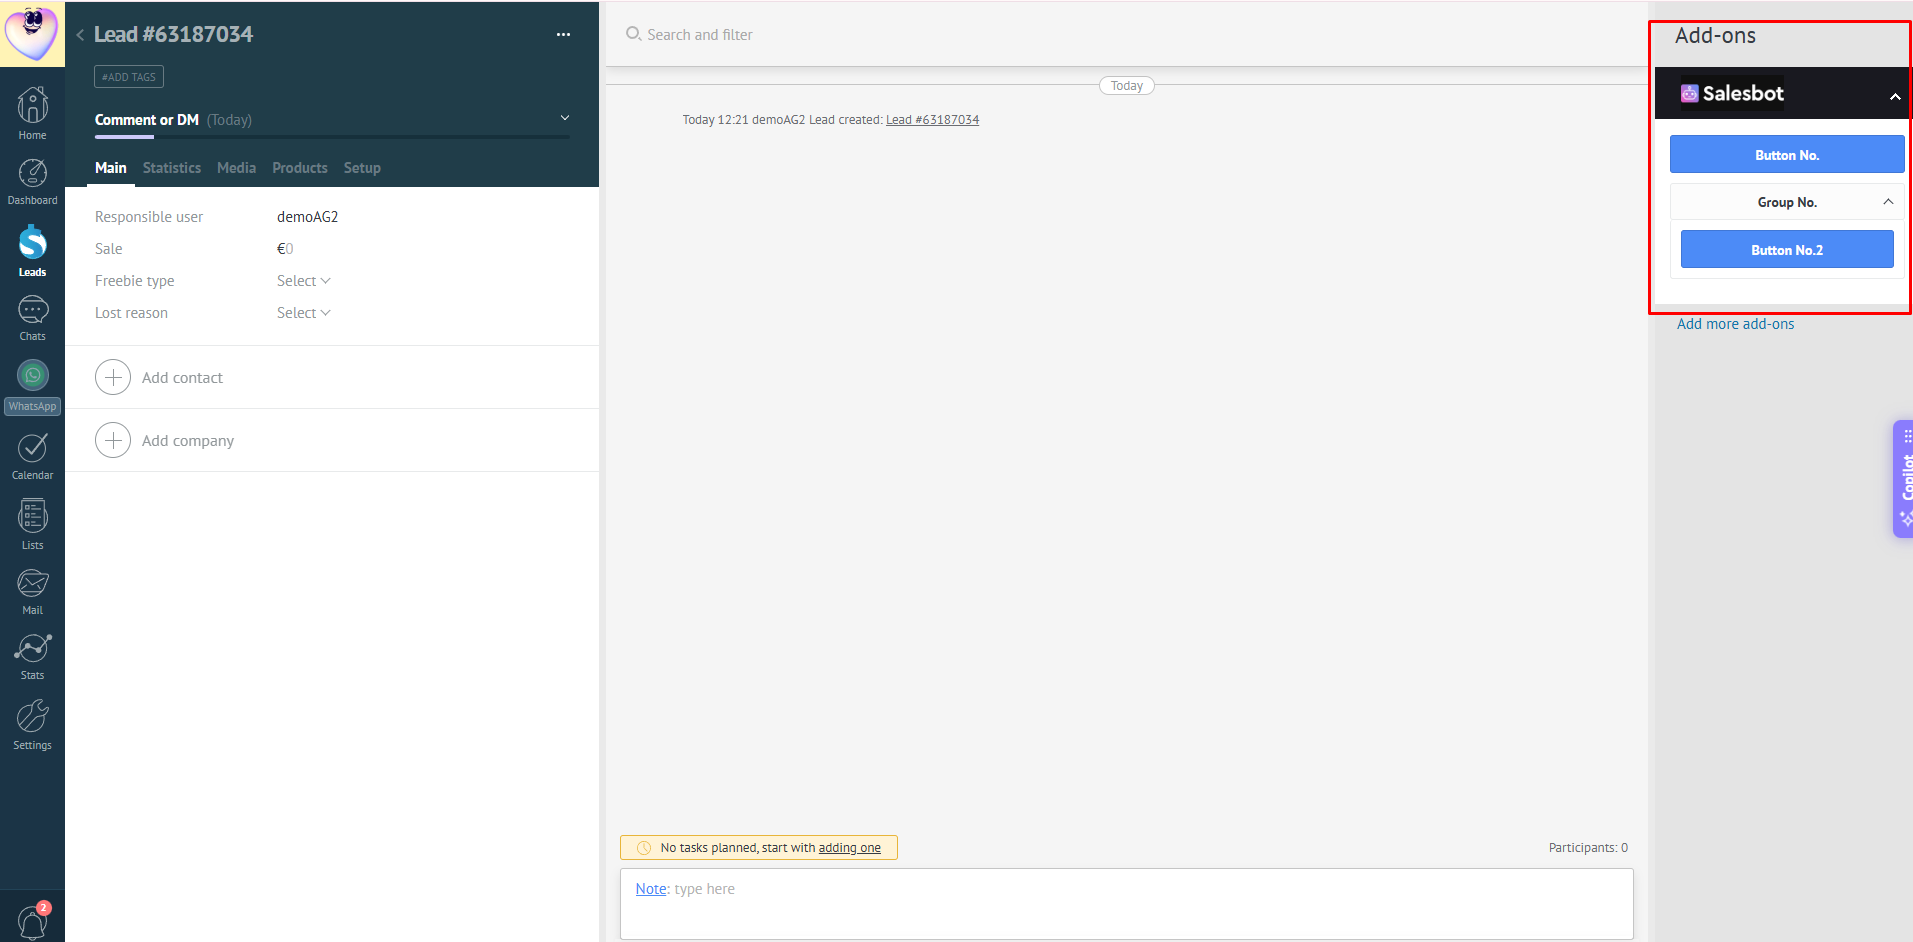
In the lead card, it will look like this: